DIY Rescue Skin Salve Cream for Dry Skin
Got dry skin? Whether it’s from cold weather, too much time in the sun, or wind-burn from extreme climates, use this DIY Rescue Skin Salve to nourish skin naturally.

This post contains affiliate links. Please read my affiliate disclosure.
Why Use This Skin Salve
Dry skin happens. Whether you’re on the slopes skiing or snowboarding, or you’ve been in a windy spot that’s wreaked havoc on your skin, you don’t have to grin and bear it.
Use this skin salve to rescue skin from dryness, irritation, cracking, and overall discomfort with this soothing salve.
The consistency of this salve is thicker and richer than a lotion. It’s almost like a lip balm. You’ll need this to lock in moisture and let the skin improve over the next few days.
Ingredients to Make This Skin Salve
- Coconut oil is an excellent moisturizer, but it also has antimicrobial and antiviral properties.
- Beeswax helps to protect the skin against irritants. In fact, it’s better than petroleum jelly as a barrier cream for the skin. In addition, the properties in beeswax provide antibacterial and antiviral benefits.
- Lavender and Geranium essential oils help to soothe skin and smells great.
How to Make This Skin Salve
- Use a double boiler on low heat to melt coconut oil and beeswax. It’ll take about 5 minutes to melt on a low-medium heat. Be sure to stir frequently.
- Remove from heat once the mixture is melted and add essential oils.
- Fill lip balm tins and let cool for a couple of hours to firm up.
How to Use
Gently and generously apply to skin to restore moisture. The coconut oil helps to deeply moisturize, while the beewax helps to lock it in so the salve doesn’t wipe off easily.
Repeat as often as needed. You’ll start to see the skin improving after a couple of days.
How to Store
This DIY Rescue Skin Salve Recipe works really well, but it can also be messy on the go. Coconut oil will melt easily if the weather is warm. I suggest storing this in the bathroom to use at home – morning and night.
This is also great for kids. I like to keep it on hand when I’m traveling or when I’m doing winter sports and need extra moisturizing.
How to Get Started with Essential Oils
- Sign up for my FREE essential oil email course in order to learn the basics.
- Check out my FREE masterclass all about essential oils and this beginner’s guide to essential oils.
- Get my essential oils online course – complete with video tutorials, e-book and everything you need to get started with essential oils.
- Find out how to buy essential oils at a huge discount + get an additional 10% off your first order with my coupon code. It’s the best deal around and a great way to get started with essential oils. Plus lots of freebies just for you.
More DIY Recipes
Did you try this? Don’t forget to rate it and comment below to let me know how it went. You can also FOLLOW ME on Facebook, Instagram and Pinterest.
DIY Rescue Skin Salve
Equipment
- Double boiler
- Spoon
- 4 oz. glass jar or lip balm tins
Ingredients
- 6 drops lavender essential oil
- 4 drops geranium essential oil
- 2 tbsp coconut oil
- 1 tbsp beeswax
Instructions
- Use a double boiler on low heat to melt coconut oil and beeswax. It'll take about 5 minutes to melt on a low-medium heat. Be sure to stir frequently.
- Remove from heat once the mixture is melted and add essential oils.
- Fill 4 oz glass jar or lip balm tins and let cool for a couple of hours to firm up.
Want More DIY Recipes?
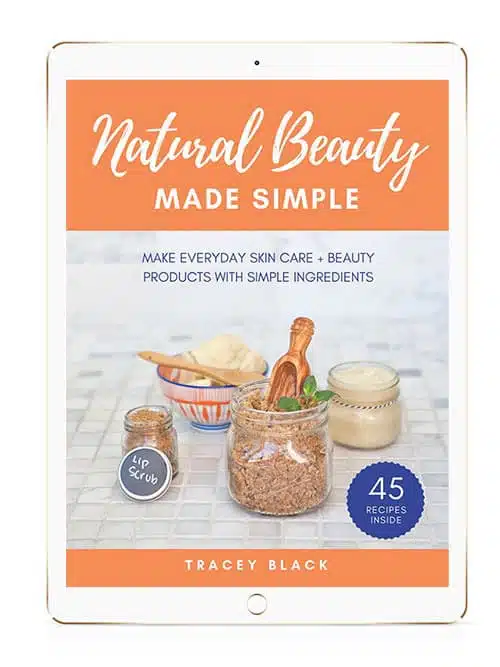
Check out my book Natural Beauty Made Simple. It comes with 45 homemade skincare recipes with a set of printable labels and gift tags. You can download it instantly to your phone, computer or e-reader, so it’s portable and can go with you anywhere!
- Make your own organic beauty and skin care products for less than $25 a month!
- Learn simple techniques to make your own skincare – without the fuss of complicated recipes or hard-to-find ingredients
- Get tried-and-true recipes that work to nourish the skin and make it look more radiant than ever before
- Create beautiful gifts for friends and family with the printable labels and gift tags I’ve included with this book
Take a peek at what’s inside Natural Beauty Made Simple.
Photo credit: Bigstockphoto.com / Monic249
Thank you Tracey. I’m excited about making these products. I have some of the ingredients but plan to order from you soon.