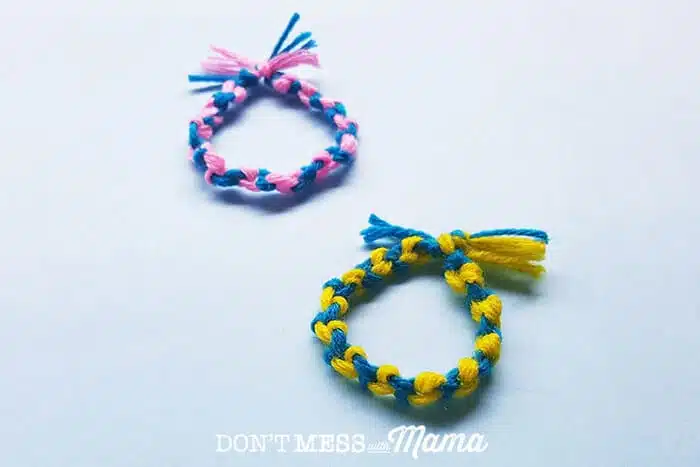
DIY Friendship Bracelet Tutorial
Keep the kids busy with this simple indoor craft. Here’s a great friendship bracelet tutorial. Complete with step by step instructions and images. Add a drop of essential oil to the bracelet for aromatherapy on the go.
This post contains affiliate links. Please read my affiliate disclosure.
While on a family vacation, we were rained in and needed an indoor craft to keep the kids busy. We had some yarn and decided to make these DIY friendship bracelets. In fact, I’m still wearing mine and we’ve been back for over a month. I bought a kit from Michael’s, but I admit it was overly complicated for me. But the ONE method I did understand was this easy knot style bracelet. Read on for this friendship bracelet tutorial!
Where Did Friendship Bracelets Come From?
The handwoven knots used to create friendship bracelets can generally be traced back to Native Americans, although knot-tying also has a history in China and other parts of the world. In China, some of the earliest forms of decorative knots date as far back as 481-221 B.C.
The making of friendship bracelets can also be traced to Central America. They were first seen in the US in the early 1970s. According to tradition, the recipient of the bracelet must wear it until the cords wear out and fall off naturally to honor the hard work and love his/her friend put into making it.
Now you know a bit of the history, you give this Friendship Bracelet Tutorial a try.
The Perfect Gift for Friendship Day
This friendship bracelet tutorial makes you some really thoughtful gifts to give out. Why not give a bracelet – or two – on National Friendship Day! In the US, national friendship day falls on Feb 15th.
Supplies Needed for this DIY Friendship Bracelet Tutorial
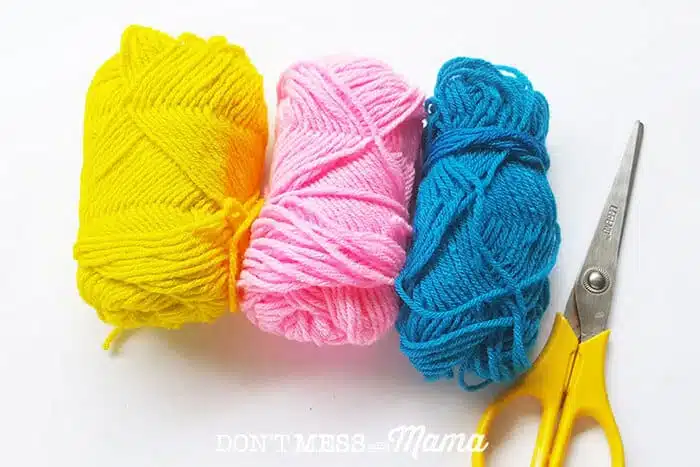
Here’s a list of supplies you’ll need:
- Two colors of thread or string (find embroidering string or friendship bracelet string at a craft store like Michael’s)
- Consider whether you want a thin/tight bracelet (use 1 string per color) or a thick/loosely woven bracelet (use 2-3 strings per color
- Measure about 12 inches per string – I just measure from my fingers to my elbow
- Now follow directions below…
Tutorial: How to Make this DIY Friendship Bracelet
Step 1: Cut each 12-inch string, then tie one end in a knot and tape to a table or flat surface you’ll be working on. Separate colors so you have 2 sets of string.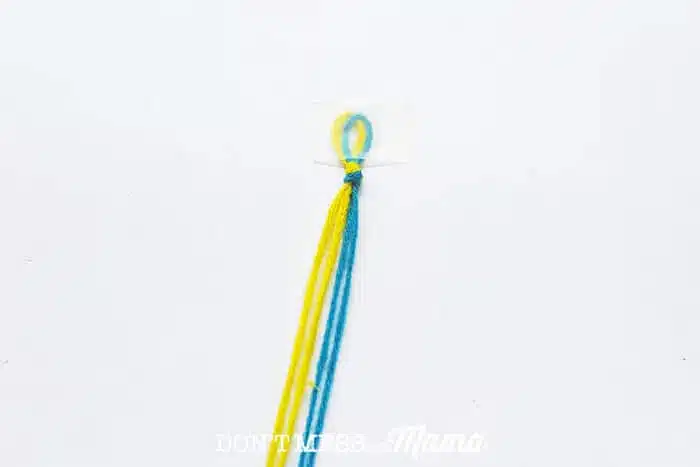
Step 2: Take one color side and wrap around the other color set of string.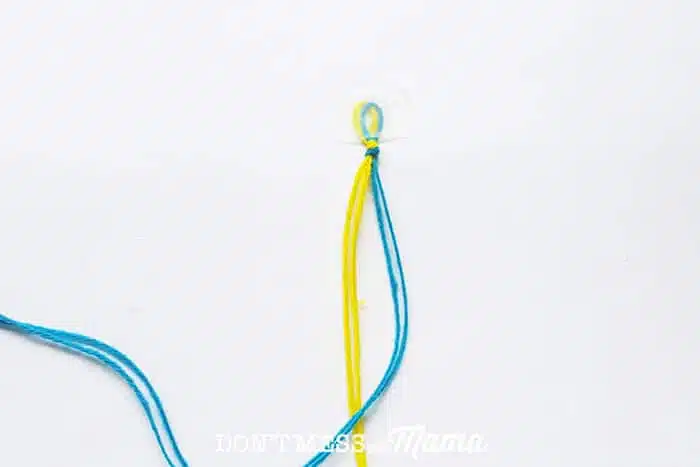
Step 3: Loop around to make a knot.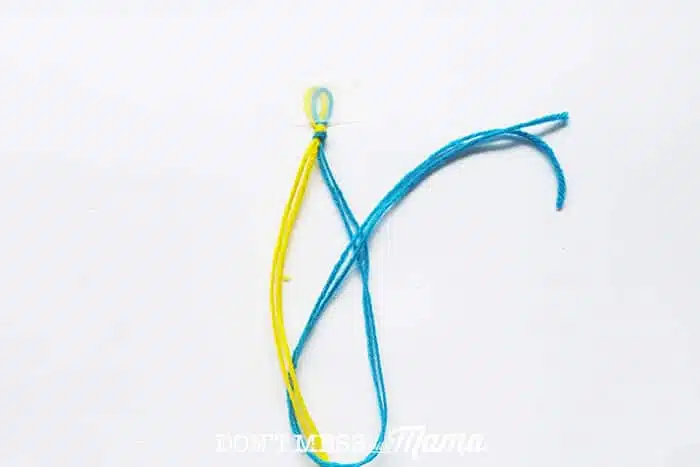
Step 4: Pull knot until you can’t pull anymore – it should flush against the first knot.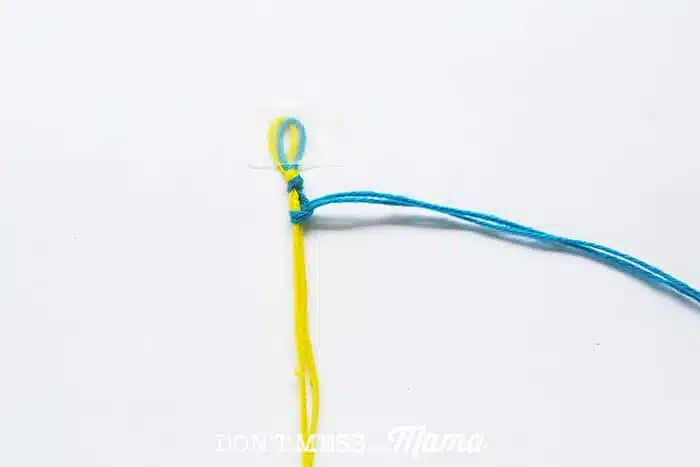
Step 5: Grab other color set of string and cross over.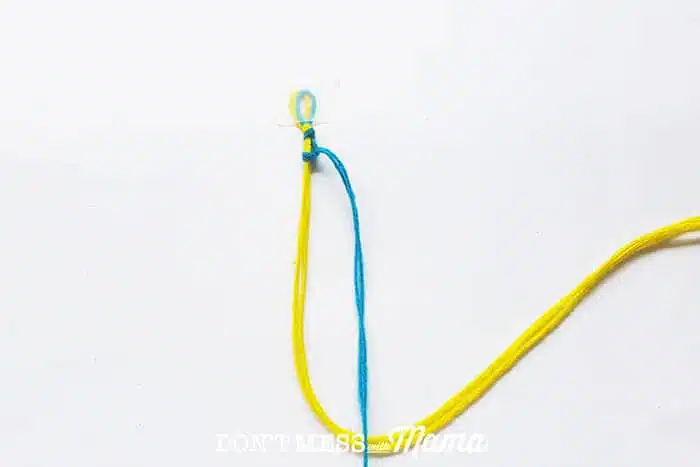
Step 6: Loop around to tie a knot.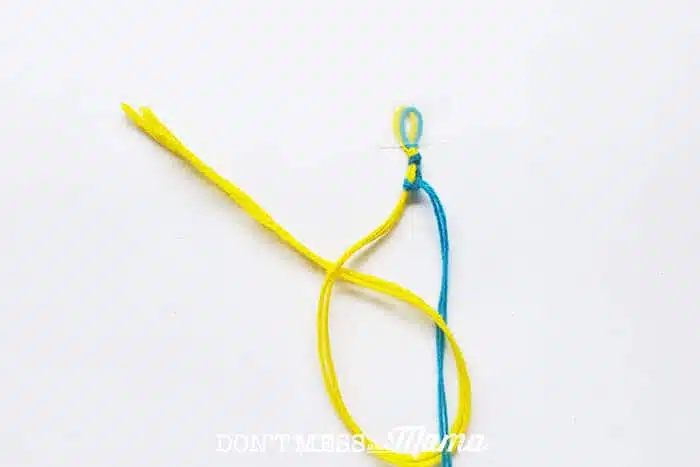
Step 7: Pull knot until it flushes against the previous knot.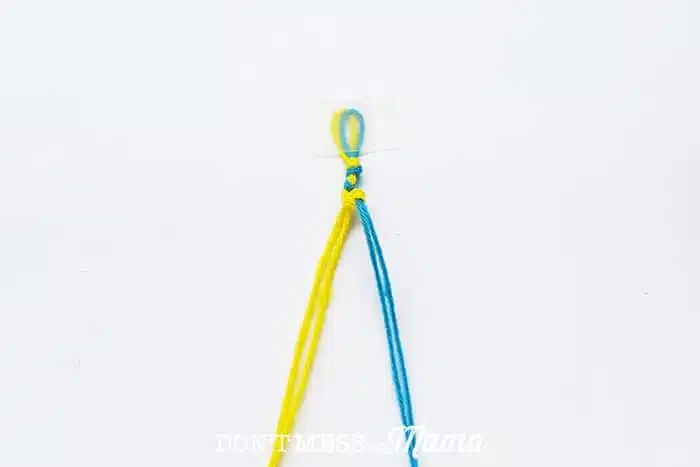
Step 8: Keep repeating steps 2-7. The knot braid should look like this. Continue until the bracelet measures around the wrist. The thick/loosely woven bracelet will have more stretch.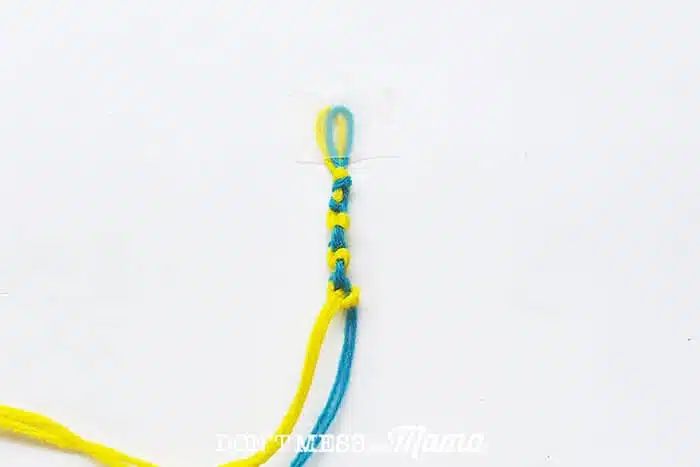
Step 9: Once you’ve got the length you need to wrap around the rest just double tie the ends together, and cut off the excess pieces. And voila! The easiest friendship bracelet ever.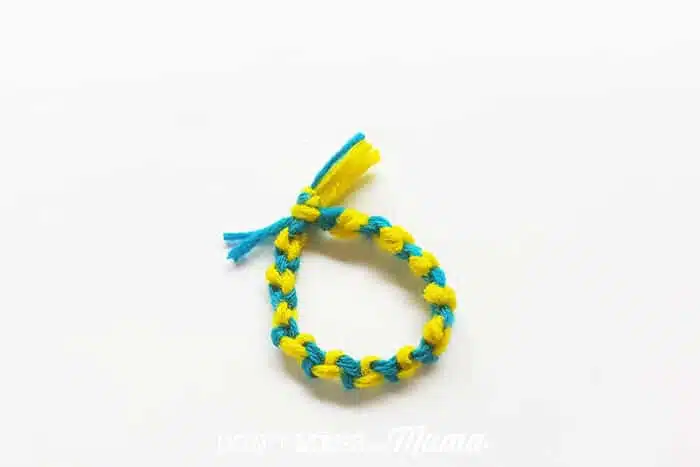
Aromatherapy DIY Friendship Bracelets
An easy way for your kids to enjoy aromatherapy on the go is to add a drop or two of essential oils on these DIY Friendship Bracelets when they’re completed. Ask your kids to pick their favorite essential oils.
Essential oil suggestions:
- Peppermint to help with focus, mental clarity, or motivation
- Lavender to help calm and relax
- Peace & Calming blend to help chill at the end of a long day
- Valor blend to help give confidence for the first day of school or for a big school project (like speaking in front of other students)
Top Tips for This Friendship Bracelet Tutorial
- Use embroidering string or friendship bracelet string at a craft store like Michael’s.
- Consider if you want a thin or thick bracelet, use the right amount of string for your choice.
- The base string in friendship bracelet making should be treated just like a warp thread in beading. It should be held firmly/taught and STRAIGHT as you make the knots on to it.
How to Get Started with Essential Oils
- Sign up for my FREE essential oil email course in order to learn the basics.
- Check out my FREE masterclass all about essential oils and this beginner’s guide to essential oils.
- Get my essential oils online course – complete with video tutorials, e-book and everything you need to get started with essential oils.
- Find out how to buy essential oils at a huge discount + get an additional 10% off your first order with my coupon code. It’s the best deal around and a great way to get started with essential oils. Plus lots of freebies just for you.
More DIY Posts You Might Like
- DIY Organic Lip Balm for Just $0.24 a Tube
- DIY Aromatherapy Play Dough
- 10 Uses for Lavender Essential Oil
Did you try this? Don’t forget to rate it and comment below to let me know how it went. You can also FOLLOW ME on Facebook, Instagram and Pinterest.
Want More DIY Recipes?
Check out my book Natural Beauty Made Simple. It comes with 45 homemade skincare recipes with a set of printable labels and gift tags. You can download it instantly to your phone, computer or e-reader, so it’s portable and can go with you anywhere!
- Make your own organic beauty and skin care products for less than $25 a month!
- Learn simple techniques to make your own skincare – without the fuss of complicated recipes or hard-to-find ingredients
- Get tried-and-true recipes that work to nourish the skin and make it look more radiant than ever before
- Create beautiful gifts for friends and family with the printable labels and gift tags I’ve included with this book
Take a peek at what’s inside Natural Beauty Made Simple.
Hello,
How many strings did you use for the thick bracelet on the last picture? Thank you.
Thanks for visiting. It’s exactly what is shown above 2 sets of 12-inch strings